I use my Harinezumi a lot. It’s like the Holga, but digital. Hipster you say? Hell yeah.
Harinezumi misses a proper timelapse feature, the one out of the box shoots low-fps videos, which is not good cause it cuts the resolution in half and introduces some nasty mpeg compression artifacts.
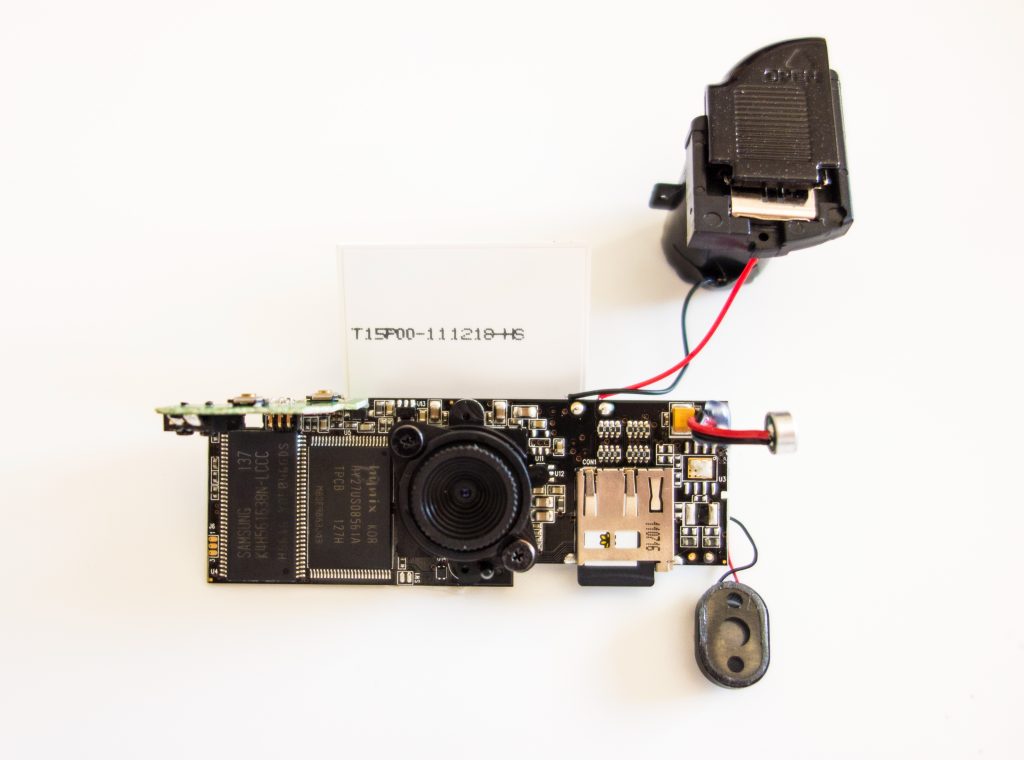
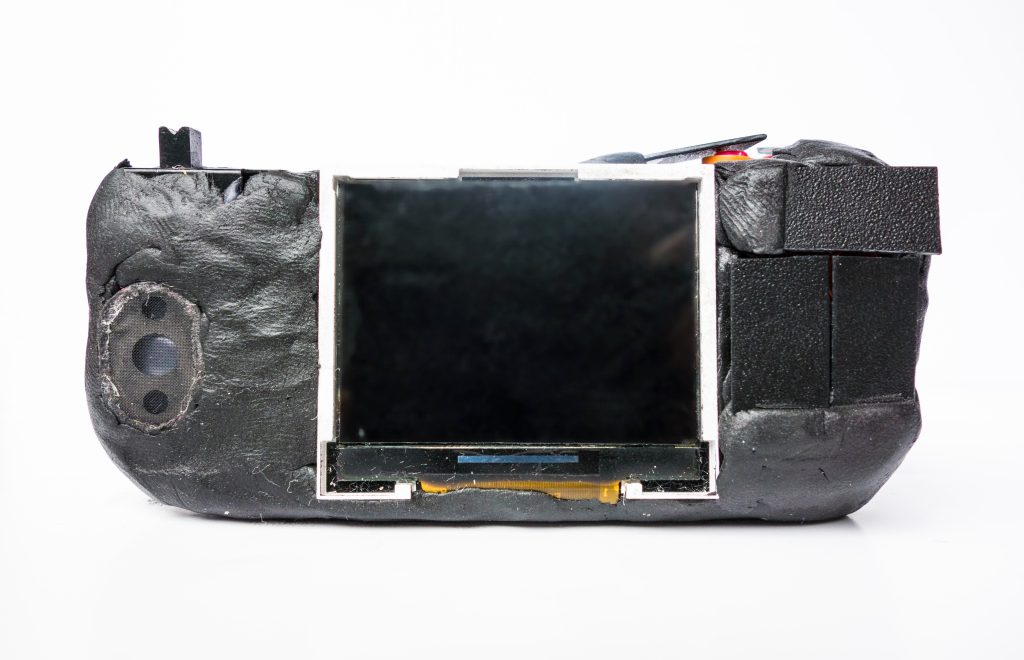
So here I go to work. Harinezumi is easy to hack. Enclosure comes off real easy and there are only a few pieces. Here is the back off.
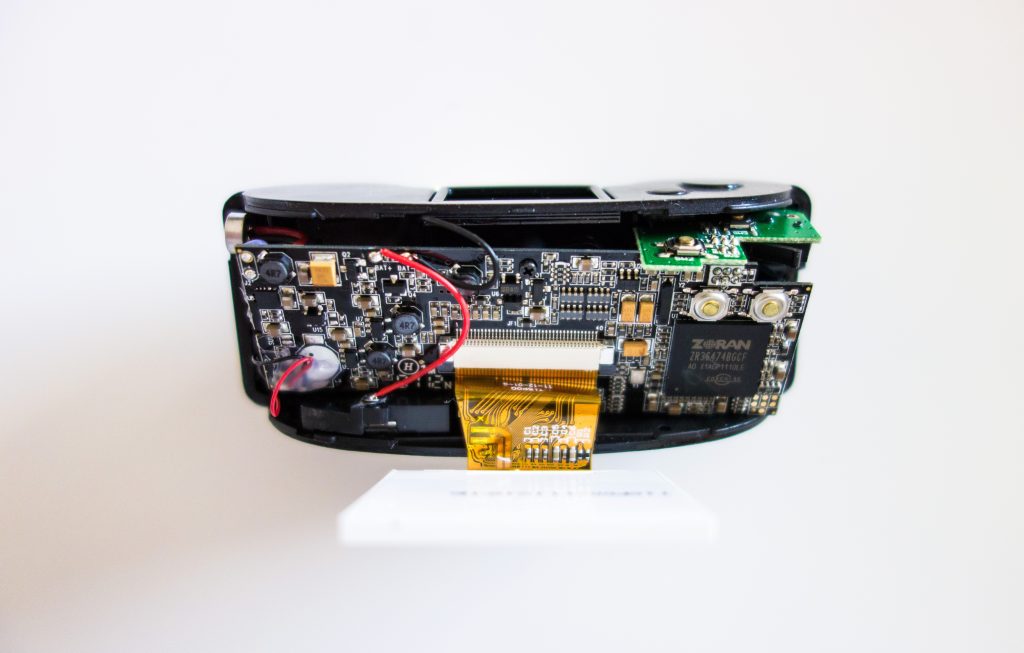
The core pieces (the white rectangle is the display):
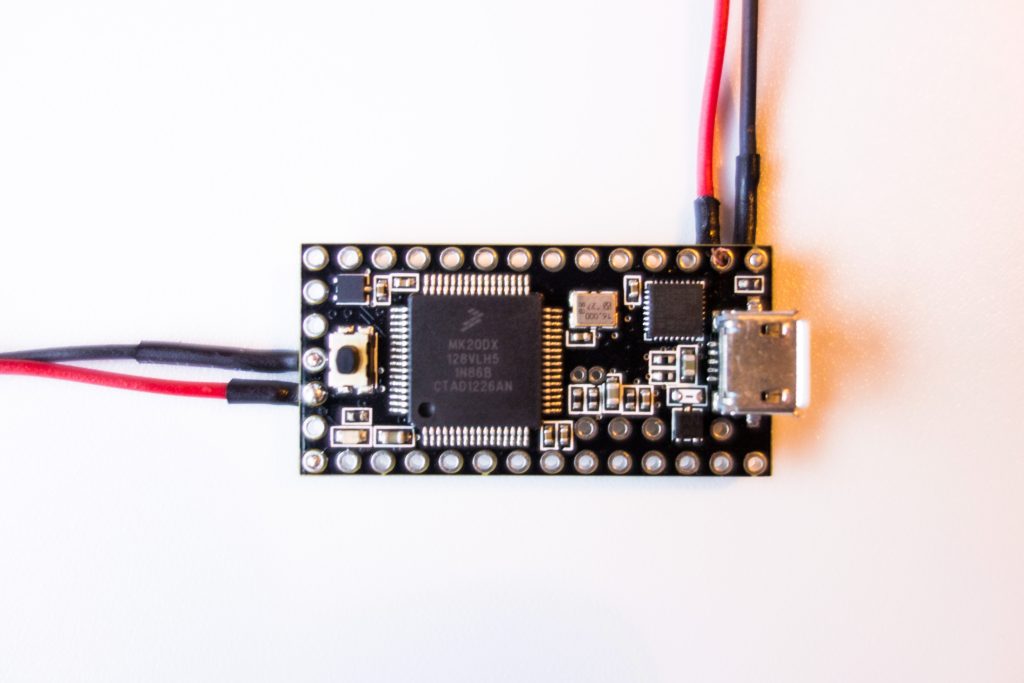
The idea is to put a “Teensy” board under the display. The Teensy drives a CNY74-2H optocoupler to close the shutter circuit at some interval. Here is the Teensy 3.0 board. The top wires drive the optocoupler (through a resistor so not to fry it), the left wires will go to the battery (through a switch).
So here is the board in its place:
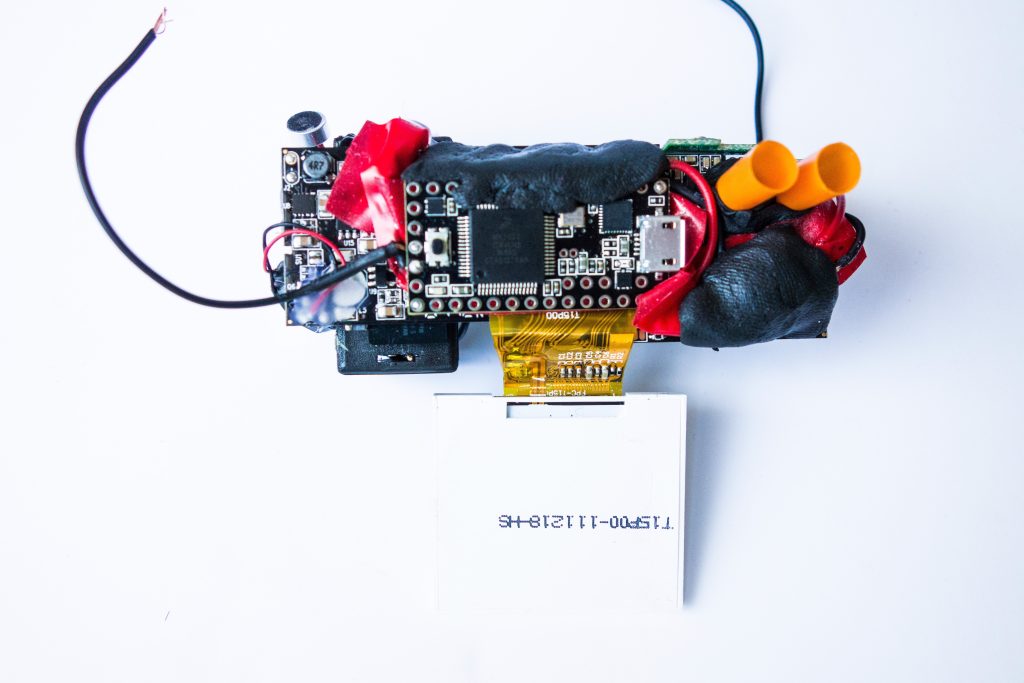
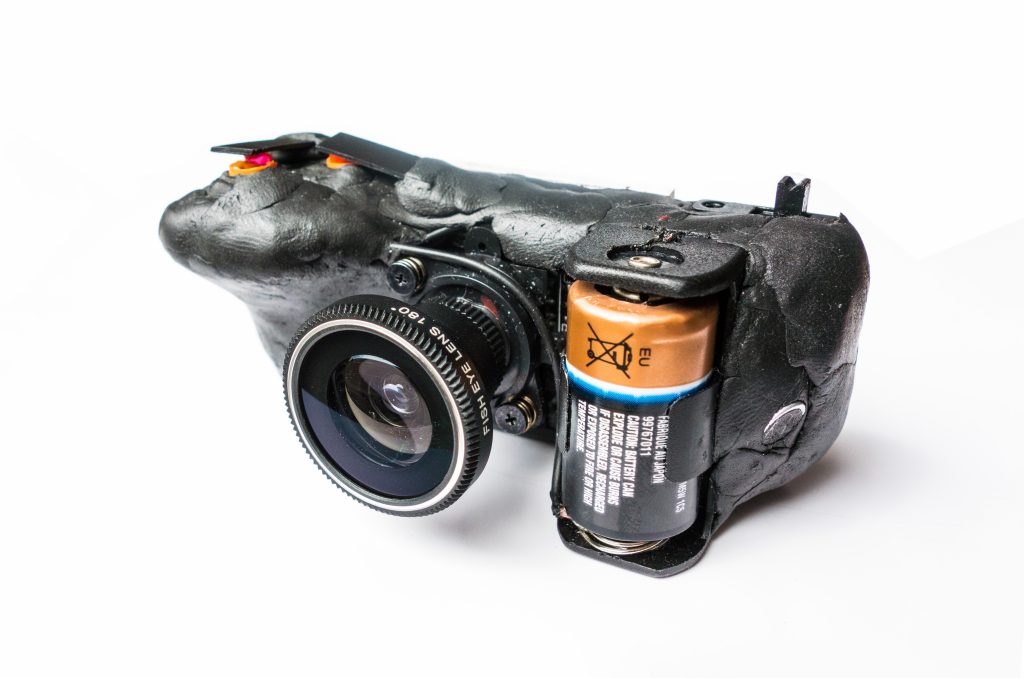
The whole case and the pieces of the camera are going to be made of Sugru. All the switches need to be enclosed in a piece of plastic straw so they’ll still be accessible:

The battery holder is replaced by a new one and Sugru is applied in abundance. Also note the switch that turns on and off the timelapse (top left of the camera).
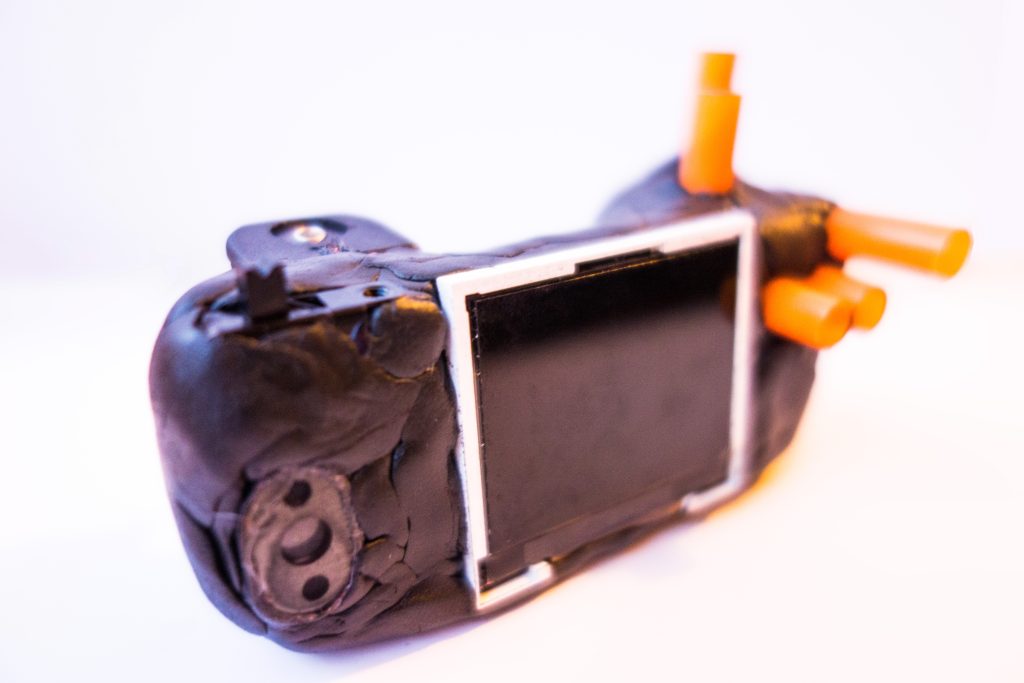
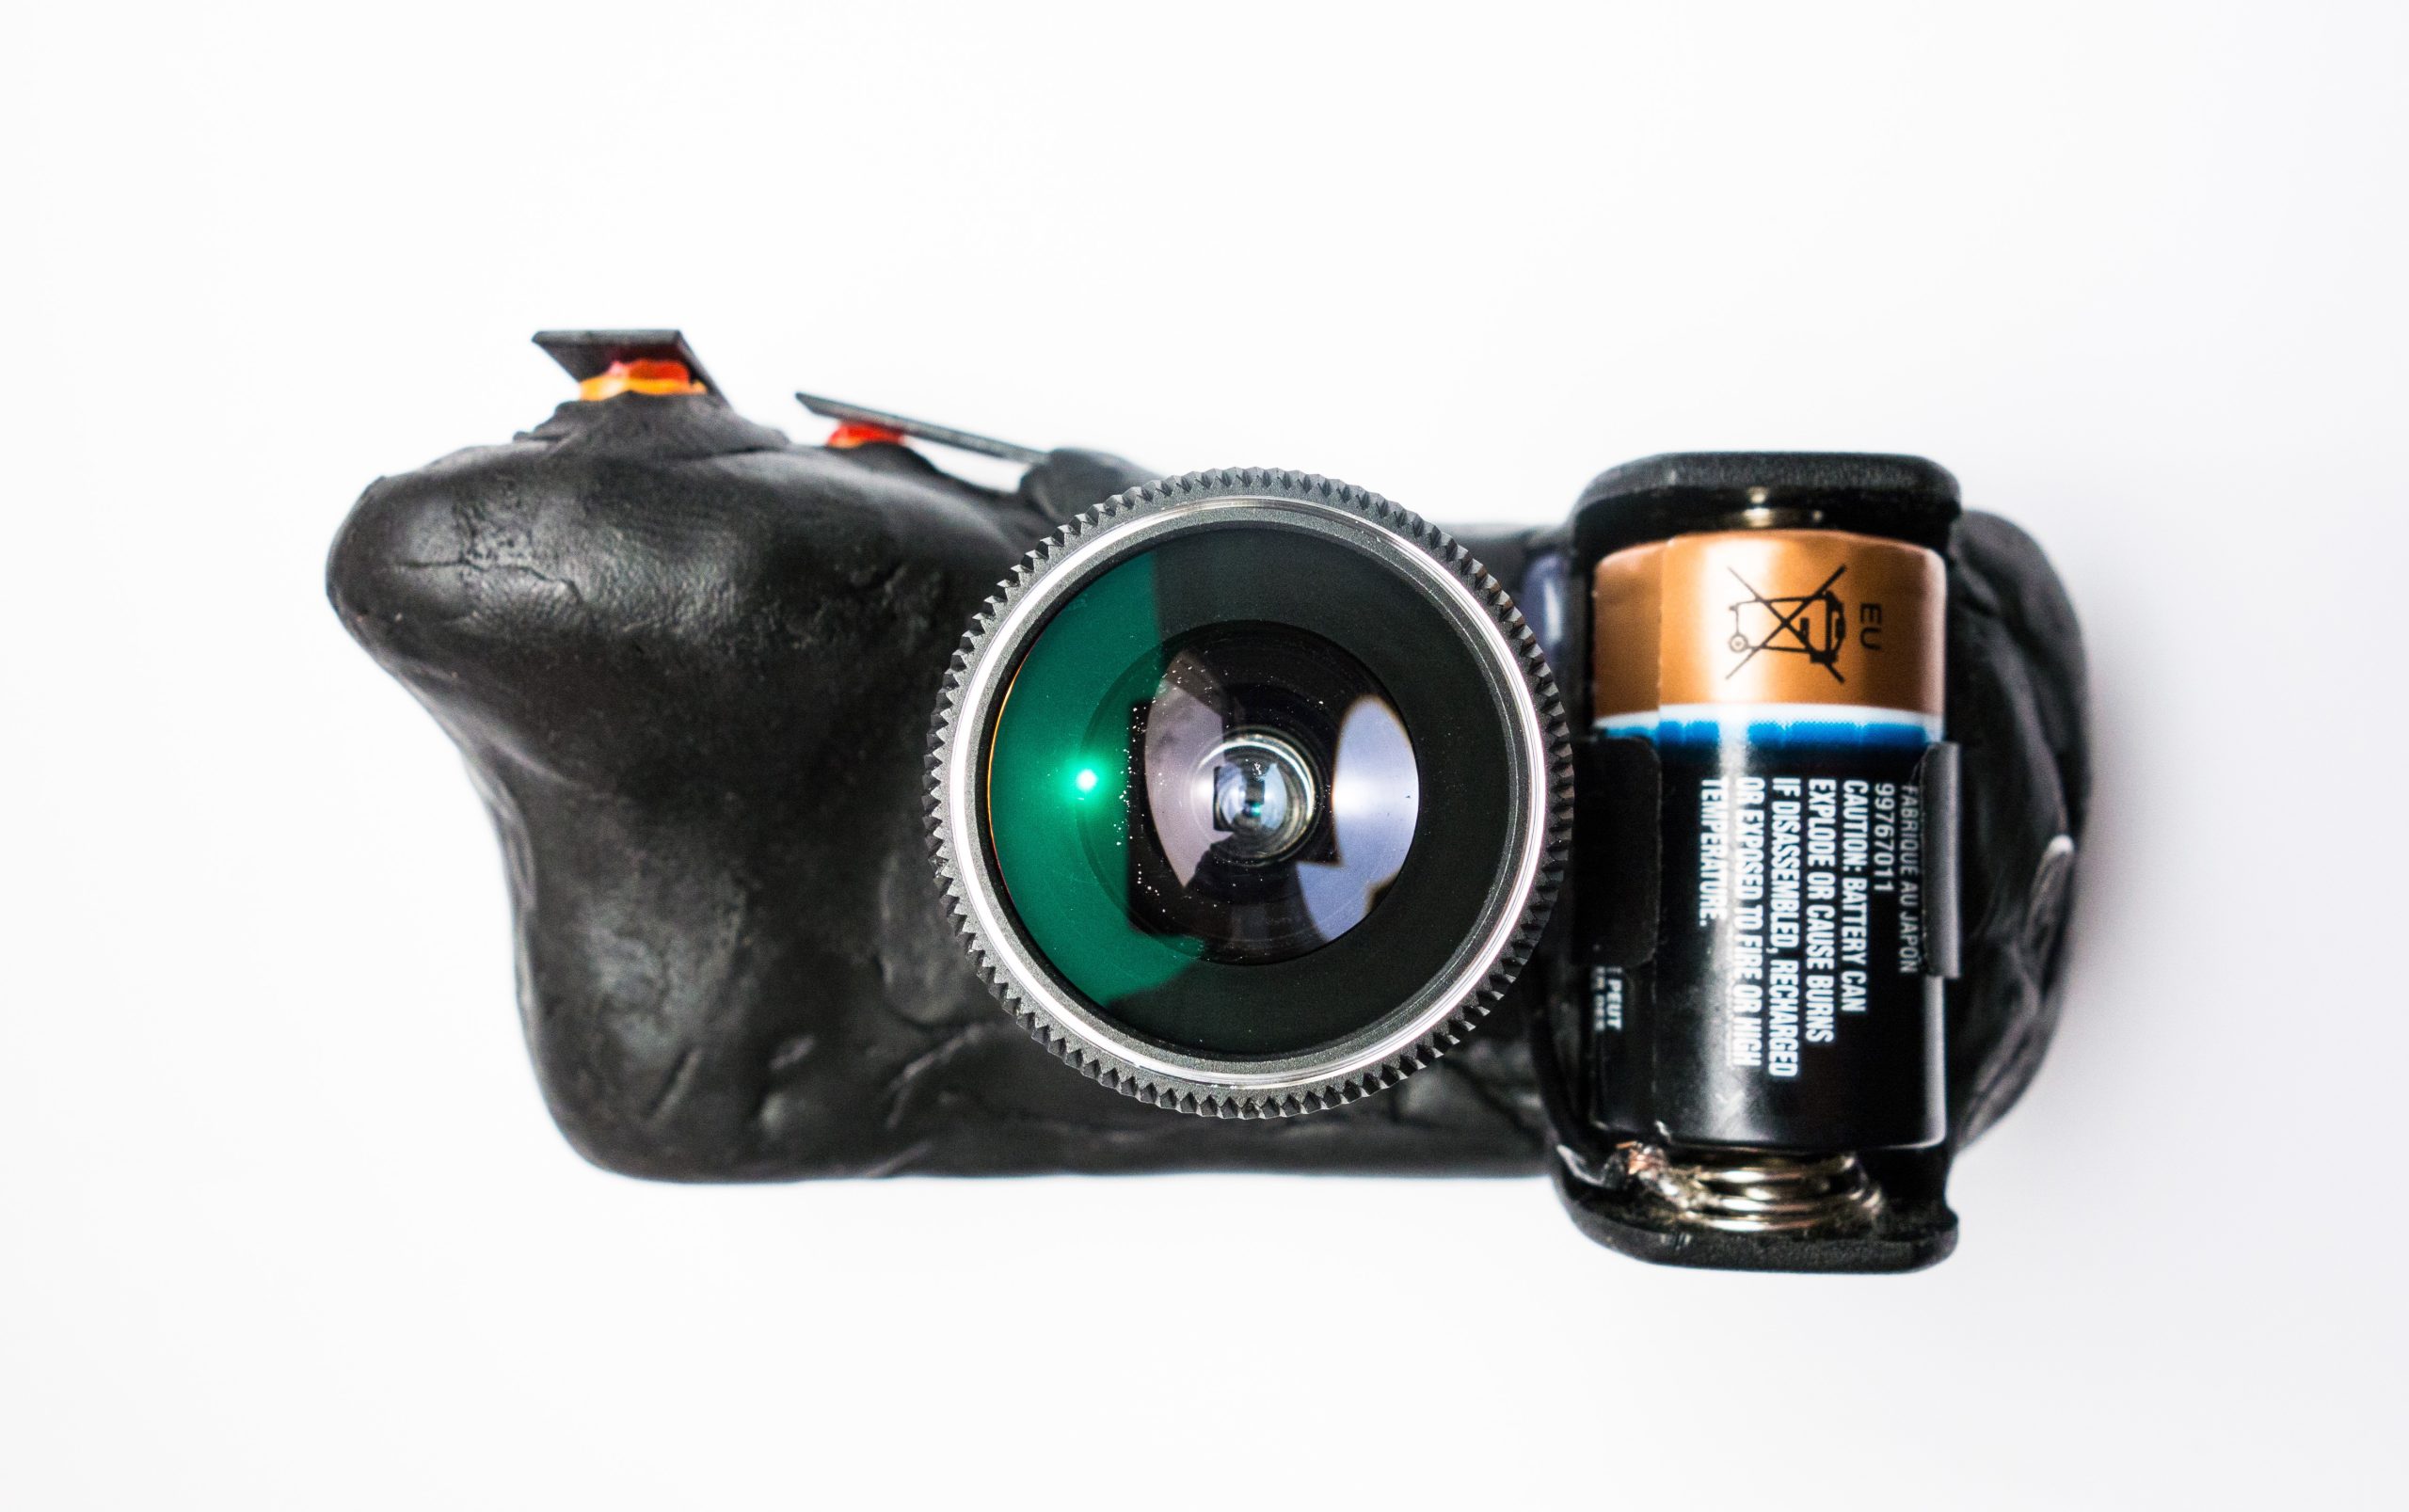
Lastly, some plastic flaps are put in place, together with some small plastic pins, so that the switches can be actioned. Also there is still space to attach a fisheye like in the pictures here, which never hurts. Slick!

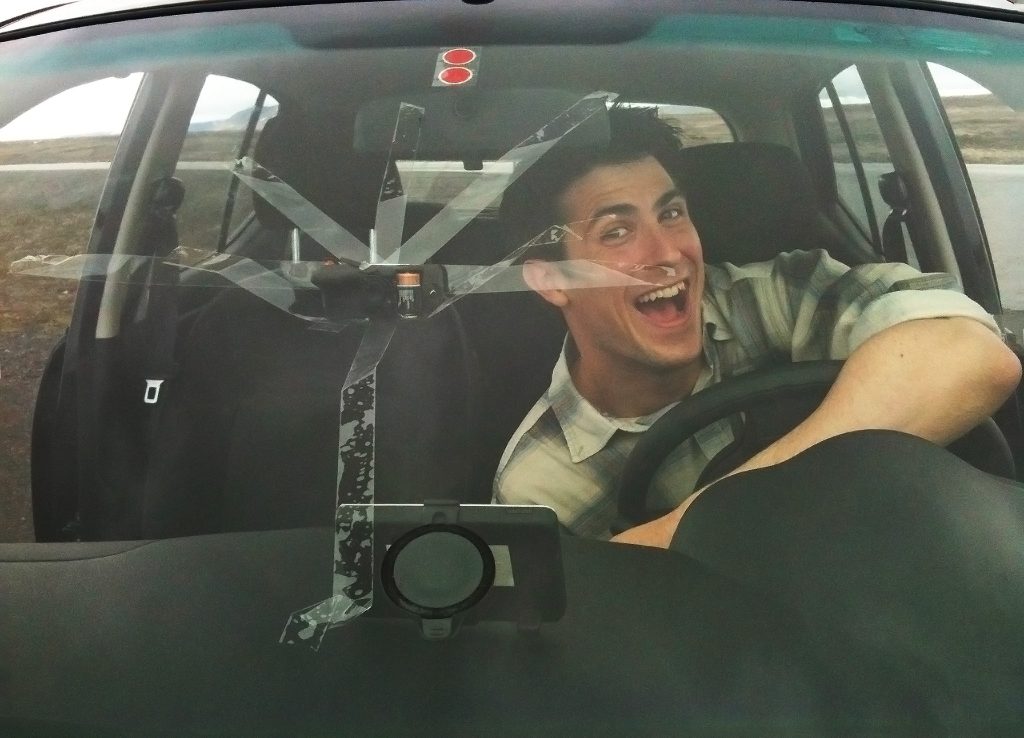
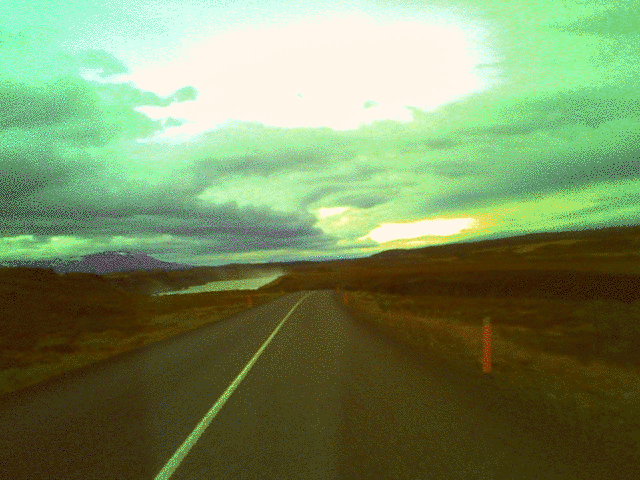
So now one can just strap the camera on the windshield in a very classy and toooootally unobtrusive way and take some timelapse videos. You can barely see the camera here. I don’t know if you can see it.